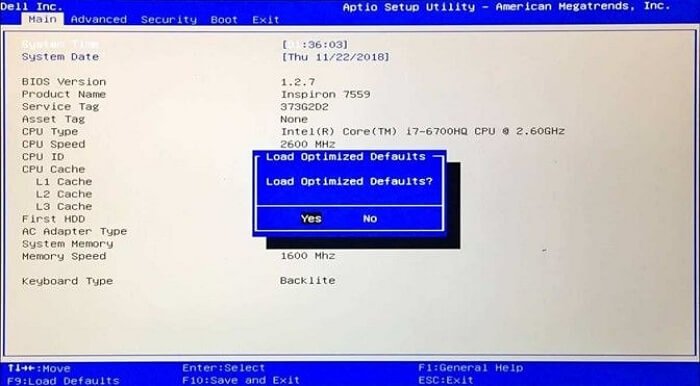
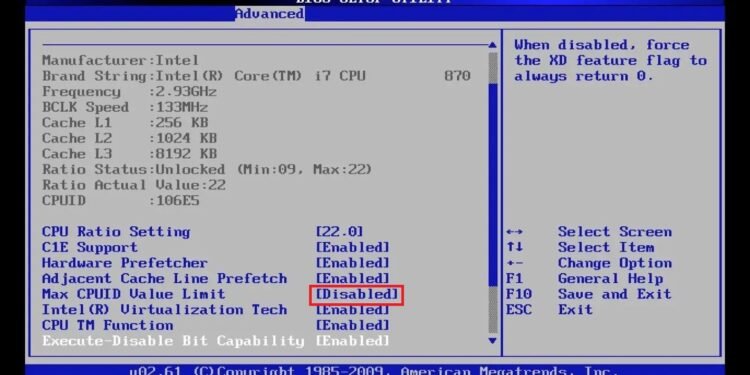
Disabling USB Legacy Support in your BIOS can prevent you from accessing the BIOS using a USB keyboard. This issue can be particularly frustrating if you need to revert the change but cannot navigate the BIOS settings. Fortunately, there are several methods to regain access to your BIOS and re-enable USB Legacy Support. This guide will walk you through the steps to solve this problem.
Steps to Re-Enable USB Legacy Support
1. Use a PS/2 Keyboard
If your computer has a PS/2 port (a round port, typically purple for keyboards), you can connect a PS/2 keyboard. These keyboards typically work without requiring USB Legacy Support.
2. Clear CMOS/Reset BIOS
**Clearing the CMOS will reset your BIOS settings to their default state, which will re-enable USB Legacy Support. Here’s how you can do it:**
1. **Turn off your computer and unplug it from the power source.**
2. **Open the computer case** to access the motherboard.
3. **Locate the CMOS battery** on the motherboard. It looks like a small, silver coin.
4. **Remove the CMOS battery** for about 5-10 minutes, then reinsert it. This will reset the BIOS to default settings, including re-enabling USB Legacy Support.
5. Some motherboards have a **CMOS reset jumper**. Check your motherboard’s manual for the exact location and instructions on how to use it.
3. Use a Different USB Port
Sometimes, only certain USB ports are affected by disabling USB Legacy Support. Try connecting your keyboard to different USB ports, particularly those directly on the motherboard (back panel ports).
4. Try a Different Keyboard
Some keyboards may still work even if USB Legacy Support is disabled. If possible, try a different USB keyboard to see if it allows you to access the BIOS.

5. Check for Motherboard-Specific Methods
Consult your motherboard’s manual or the manufacturer’s website for specific instructions on how to reset the BIOS or handle this issue. Some motherboards have unique features or buttons designed to reset the BIOS without opening the case.
6. External BIOS Reset Tools
Some manufacturers provide external tools or buttons to reset the BIOS without opening the case. Check if your motherboard supports this feature and follow the manufacturer’s instructions.
Detailed Steps for Clearing CMOS
1. Turn off the computer and unplug the power cable.
2. Open the case** to access the motherboard.
3. Find the CMOS battery** (a coin-cell battery, usually CR2032).
4. Remove the battery for 5-10 minutes to ensure the CMOS settings are cleared.
5. Reinsert the battery** and close the case.
6. Plug the power cable back in and turn on the computer. The BIOS should reset to default settings, and USB Legacy Support should be enabled.
Conclusion
Disabling USB Legacy Support can lead to frustrating situations where you cannot access the BIOS using a USB keyboard. By following these steps, you can reset your BIOS and re-enable USB Legacy Support, allowing you to regain control of your system. If you’re uncomfortable performing these steps, consider seeking help from a professional technician.


