Getting Started
To allow your visitors to log in with their Facebook account, first you must create a Facebook App. The following guide will help you through the Facebook App creation process. After you have created your Facebook App, head over to “Settings” and configure the given “App ID” and “App secret” according to your Facebook App.
Warning: Providers change the App setup process quite often, which means some steps below might not be accurate. If you see significant difference in the written instructions and what you see at the provider, feel free to report it, so we can check and update the instructions.
Last updated: September 9, 2021.
Create Facebook App
- Navigate to https://developers.facebook.com/apps/
- Log in with your Facebook credentials if you are not logged in.
- Click on the “Create App” button and in the Popup choose the “Consumer” App type!
- If you see the message “Become a Facebook Developer“, then you need to click on the green “Register Now” button, fill the form then finally verify your account.
- Fill “App Display Name“, “App Contact Email“. The specified “App Display Name” will appear on your Consent Screen!
- Optional: choose a “Business Manager Account” in the popup, if you have any.
- Click the “Create App” button and complete the Security Check.
- Find “Facebook Login” and click “Set Up“.
- Select “Web” and enter the following URL to the “Site URL” field: https://tutorials.wphacks4u.com
- Press “Save”.
- Click on the “Settings” option what you find on the left side, under “Products – Facebook Login”
- Add the following URL to the “Valid OAuth redirect URIs” field:
- https://tutorials.wphacks4u.com/wp-login.php?loginSocial=facebook
- Click on “Save Changes”.
- On the top left side, click on the “Settings” menu point, then click “Basic”.
- Enter your domain name to the “App Domains” field, probably: tutorials.wphacks4u.com
- Fill up the “Privacy Policy URL” field. Provide a publicly available and easily accessible privacy policy that explains what data you are collecting and how you will use that data.
- At “User Data Deletion“, choose the “Data Deletion Instructions URL” option, and enter the URL of your page* with the instructions on how users can delete their accounts on your site.
- To comply with GDPR, you should already offer possibility to delete accounts on your site, either by the user or by the admin:
-
- If each user has an option to delete the account: the URL should point to a guide showing the way users can delete their accounts.
- If the accounts are deleted by an admin: then you should have a section – usually in the Privacy Policy – with the contact details, where users can send their account erasure requests. In this case the URL should point to this section of the document.
- Select a “Category”, an “App Icon” and pick the “App Purpose” option that describes your App the best, then press “Save Changes“.
- Your application is currently private, which means that only you can log in with it. In the top bar switch the “App Mode” from “Development” to “Live“.
- By default, your application only has Standard access for the permissions, which is not enough for Facebook Login.
On the left side, click on App Review then click Permissions and Features. In the table you will find the “public_profile” and “email” permissions and you should click on the Get Advanced Access buttons next to them. - On the top left side, click on the “Settings” menu point, then click “Basic”.
- At the top of the page you can find your “App ID” and you can see your “App secret” if you click on the “Show” button. These will be needed in plugin’s settings.
WARNING: Don’t replace your Facebook App with another! Since WordPress users with linked Facebook accounts can only login using the Facebook App, that was originally used at the time, when the WordPress account was linked with a Facebook Account.

Getting Started
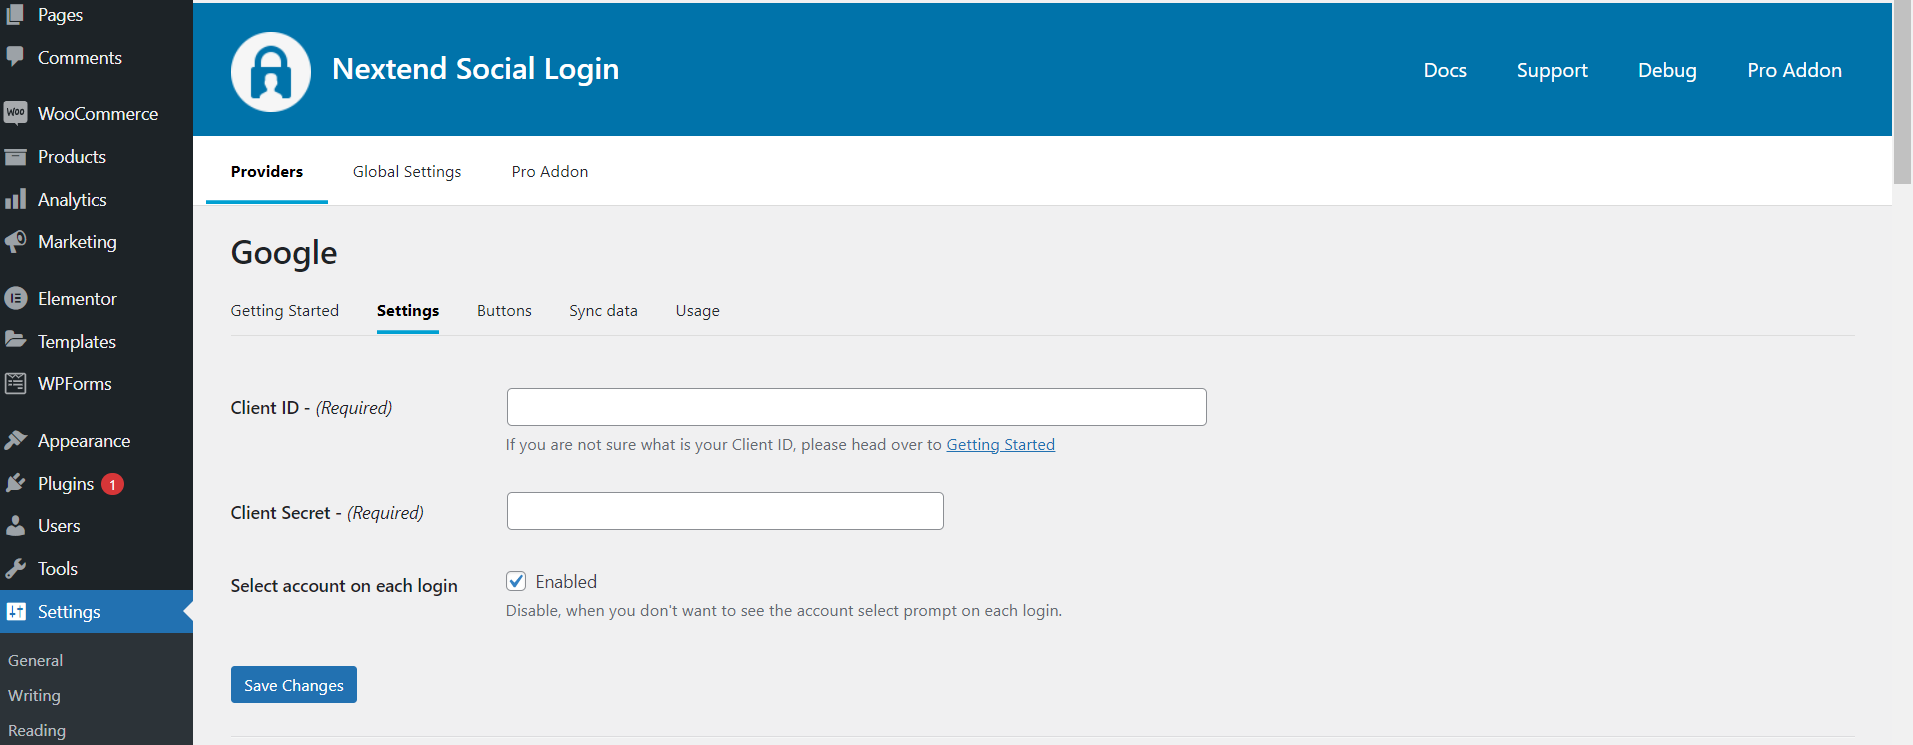
To allow your visitors to log in with their Google account, first you must create a Google App. The following guide will help you through the Google App creation process. After you have created your Google App, head over to “Settings” and configure the given “Client ID” and “Client secret” according to your Google App.
Warning: Providers change the App setup process quite often, which means some steps below might not be accurate. If you see significant difference in the written instructions and what you see at the provider, feel free to report it, so we can check and update the instructions.
Last updated: December 9, 2021.
Create Google App
- Navigate to https://console.developers.google.com/apis/
- Log in with your Google credentials if you are not logged in.
- If you don’t have a project yet, you’ll need to create one. You can do this by clicking on the blue “Create Project” text on the right side! ( If you already have a project, then in the top bar click on the name of your project instead, which will bring up a modal and click “New Project”. )
- Name your project and then click on the “Create” button again!
- Once you have a project, you’ll end up in the dashboard. ( If earlier you have already had a Project, then make sure you select the created project in the top bar! )
- Click the “OAuth consent screen” button on the left hand side.
- Choose a User Type according to your needs and press “Create“. If you want to enable the social login with Google for any users with a Google account, then pick the “External” option!
- Note: We don’t use sensitive or restricted scopes either. But if you will use this App for other purposes too, then you may need to go through an Independent security review!
- Enter a name for your App to the “App name” field, which will appear as the name of the app asking for consent.
- For the “User support email” field, select an email address that users can use to contact you with questions about their consent.
- Under the “Authorized domains” section press the “Add Domain” button and enter your domain name, probably: tutorials.wphacks4u.com without subdomains!
- At the “Developer contact information” section, enter an email address that Google can use to notify you about any changes to your project.
- Press “Save and Continue” then press it again on the “Scopes”, “Test users” pages, too!
- On the left side, click on the “Credentials” menu point, then click the “+ Create Credentials” button in the top bar.
- Choose the “OAuth client ID” option.
- Select the “Web application” under Application type.
- Enter a “Name” for your OAuth client ID.
- Under the “Authorised redirect URIs” section click “Add URI” and add the following URL:
- https://tutorials.wphacks4u.com/wp-login.php?loginSocial=google
- Click on the “Create” button
- A modal should pop up with your credentials. If that doesn’t happen, go to the Credentials in the left hand menu and select your app by clicking on its name and you’ll be able to copy-paste the “Client ID” and “Client Secret” from there.
- Currently your App is in Testing mode, so only limited number of people can use it. To allow this App for any user with a Google Account, click on the “OAuth consent screen” option on the left side, then click the “PUBLISH APP” button under the “Publishing status” section, and press the “Confirm” button.


