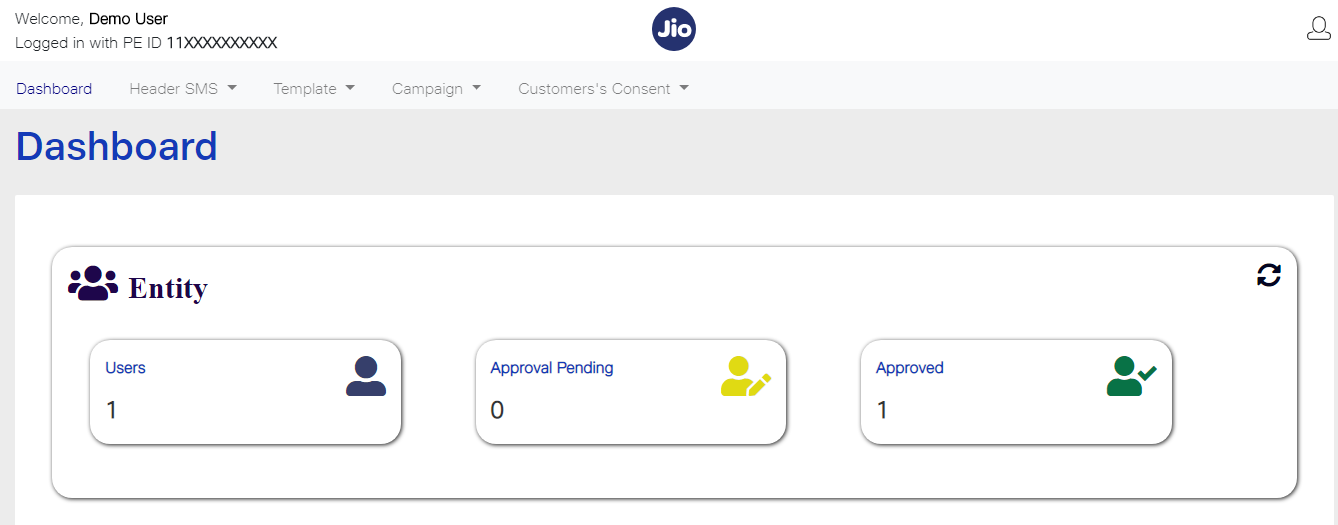
[dropcap]T[/dropcap]he Telecom Regulatory Authority of India TRAI has made some important rulings for the commercial communication messages. As per directions of TRAI, have communicated to the Principal Entities (PE) several times to complete the following activities for sending bulk communication:
1.Registration as Principal Entity (PE)
2. Assignment of header
3.. Registration of Content Template
4.Transmission of PE id, header, Content id while offering for delivery of messages to TSPs
5. Registration of consent template (if any)
6. Acquisition of consumer consent (if any)
This made lot of confusion among the startups and WordPress website owners as their SMS communication is blocked With this new order. So in this post we are discussing about how to setup SMS gateway for WordPress woocommerce website With DLT registration
Operators are live with template scrubbing and messages that do not match templates already approved in DLT will be blocked by operators.
[tie_full_img]
 [/tie_full_img]
[padding left=”5%” right=”5%”]
An SMS Gateway enables a computer to send and receive SMS text messages to and from a SMS capable device over the global telecommunications network (normally to a mobile phone). The SMS Gateway translates the message sent, and makes it compatible for delivery over the network to be able to reach the recipient.
You can also setup different gateways for different countries
WordPress also providing lot of plugins to setup sms gateway .But in Indian SMS communication system few plugins are supported. But as per the new TRAI rule it becomes fewer again because of the template id and header. So we are using wpnotif plugin which is a premium plugin and msg91 SMS gateway to achieve this
Wpnotif lets you send notifications using SMS or WhatsApp to your customers from your WordPress site. The plugin is also fully compatible with WooCommerce and you can setup automatic notification triggers for your customers whenever they create a new order or whenever the status of that order is changed. Site admins including, store owners, editors etc can also setup messages or WhatsApp notifications for themselves.
How to Install Wpnotif WordPress Plugin
[/padding]

First, you need to download the plugin from the source (which will be a zip file). Next, you need to go to WordPress admin area and visit Plugins » Add New page.
After that, click on the ‘Upload Plugin’ button on top of the page.
This will reveal the plugin upload form. Here you need to click on the ‘Choose File’ button and select the plugin file you downloaded earlier to your computer.

After you have selected the file, you need to click on the ‘Install Now’ button.
WordPress will now upload the plugin file from your computer and install it for you. You will see a success message like this after the installation is finished.

Once installed, you need to click on the Activate Plugin link to start using the plugin.
Now You would have to configure the settings to fit your needs. This we are divided into 3 parts
To set up a message gateway you should need an account in any of the messaging gateway. In India msg91 is mostly used and powerful messaging gateway. The plugin already integrated this gateway so its easy to configure. First create an account in msg91 and recharge. Then create a sender id in msg91 and generate a api key. Then this should be added to your plugin
Then go to your DLT operator (your Dlt operator is the number which you registered with gateway provider) and register with the required documents
Documents Required
1. Business PAN number ( If you do not have a business PAN, you can use individual PAN
number that is being used for your business)
2. Accepted KYC Documents
For Non Government –
• TAN
• Trade License
• Shops & Establishment Registration Certificate
• GST Reg Document (Please ensure org. name matched the document)
• Certificate of Incorporation
For Government –
• Email from official email ID of Govt Authority
• Letter on official letterhead from Govt. Authority
• TAN
• GST Reg Document (Please ensure org. name matched the document)
3.Register the Header & template id
Then register the header which we created in msg91.This need an approval from the dlt team. Once your sender id or header is approved you can add the content template there. After getting approved the content template go to the msg 91 platform and you can register the template with template id there

Msg91 setup on plugin

For Msg91 every SMS you send with them should contain a Template ID. Template ID is provided by Msg91 and is unique for all your message templates, be it promotional or transactional.
To make our message templates compatible with Msg91 you need to define the templates in WPNotif settings in the below mentioned format.
message: Your order {{wc-order}} is shipped on {{date}}
template-id: 1569851XXXXXXXXXX78
Template id is provided by Msg91 once you register your SMS template with them.
NOTE: To make sure the SMS gets delivered please ensure that the position of variable is same across both Msg91 template and WPNotif template.
For example,
If your template of Msg91 (approved by DLT) looks like
Your order {#var#} is shipped on {#var#}
then on WPNotif settings the template should look like
message: Your order {{wc-order}} is shipped on {{date}}
template-id: 1569851XXXXXXXXXX78
Watch the full video here about the topic


